Upgrading the CM2400 with an Airlock Gauge
 Beginning in 2010, airlock the gauges have been standard on the CM2400. The first generation machines lack the airlock gauge, but we do have a low-cost upgrade which is fairly easy to add to those machines.
Before You Upgrade
Inspect the hose between the blower box and airlock to make sure that it is in good condition. If this needs to be replaced, it is much easier to replace it at this stage.
Tools You Will Need
When you order an airlock gauge, we will send you the sizes of tools you will need. This is a basic listing showing that you will not need much out of the ordinary for this upgrade.
- Drill
- Steel Hole Cutter or Bi-Metal Hole Saw
- Small drill for steel (drilling pilot hole)
- Tap tool
Step 1: Remove Blower Box
Slide the filter off the blower box. The box is attached to the frame with two bolts. Remove the bolts and hose between the box and airlock. Since the frame on an older CM2400 is shorter, it will take a little bit of manipulation to slide the box out the opposite side.
 Step 2: Drill a Hole for the Gauge
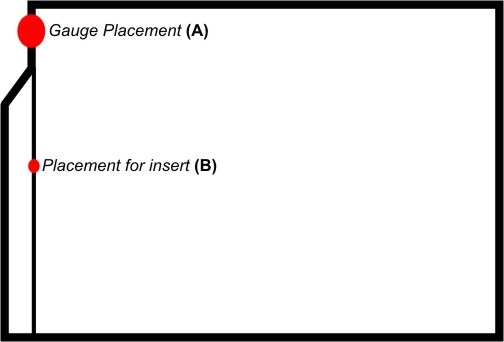
Figure A: The blower box, like the rest of the machine, is made of durable steel. The advantage is a long-lasting machine. The little drawback is that you will have to drill through it. Make sure you have a good steel hole cutter or bi-metal hole saw and drill.
Step 3: Assemble the Gauge
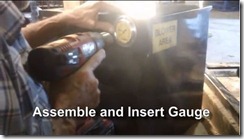
Use pipe thread dope to connect the 45 degree elbow to the backside of the gauge. To tighten the elbow, easily and sufficiently, use a vise. Place the gauge into the hole you just drilled. The gauge is held into place with three screws.
Step 4: Drill into the Air chamber
Figure B: Drill a hole (size determined in the instructions you will receive) and tap the hole. Again, use pipe dope on the threads of the insert. Connect the rubber hose to the air-gauge assembly and the insert.
Step 5: Reassemble Blower Box into the Machine
At this time, inspect the hose between the blower box and airlock. Make sure this is in good condition. With the blower box already removed, this is the best time to replace the hose if needed.
