by Barry Pendley | May 21, 2026 | Tips and Tricks
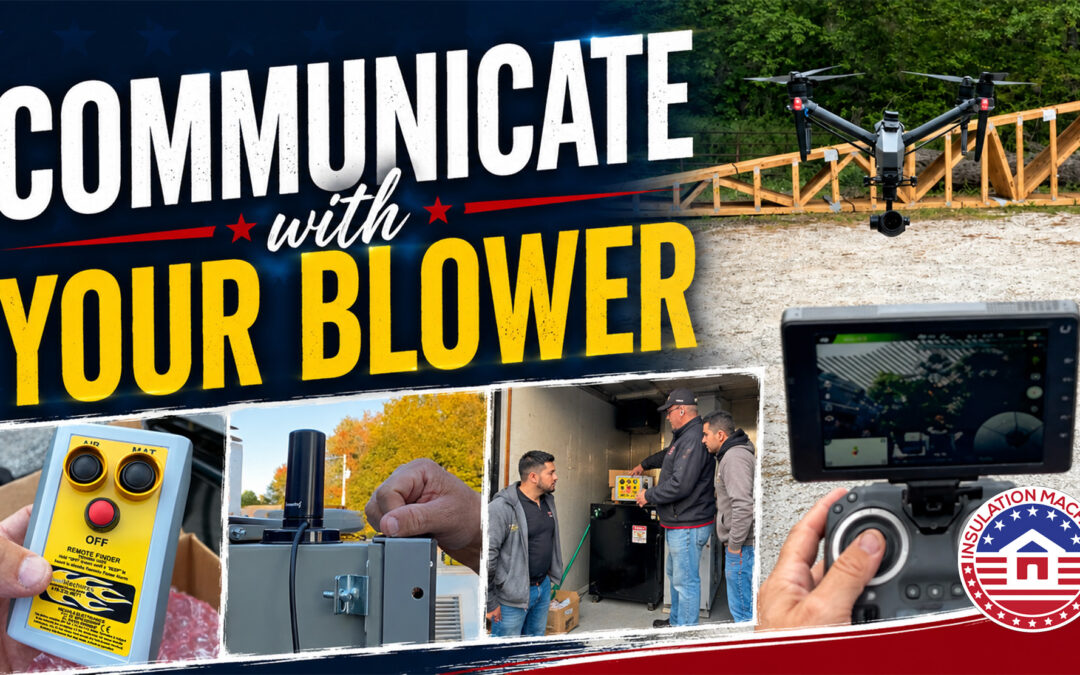
For professional insulation contractors handling dense pack insulation or wall spray cellulose and fiberglass applications, precise machine control is the difference between a high-margin workday and costly jobsite downtime. When installers are stationed deep inside a...

by Barry Pendley | Sep 3, 2025 | Tips and Tricks
A challenge that both professional insulation contractors and DIY installers face is ensuring the insulation is blown evenly and to the correct depth. Uneven coverage leaves cold spots, compromises energy efficiency, and can even result in inspection failures. The...
by Barry Pendley | Aug 10, 2025 | Tips and Tricks
Summary: A blown insulation machine enables efficient and safe installation of loose-fill insulation in attics or similar spaces by breaking the process into clear steps: preparing the workspace (ensuring good lighting and safe walking paths), gathering materials and...
by Barry Pendley | Jul 16, 2025 | Tips and Tricks
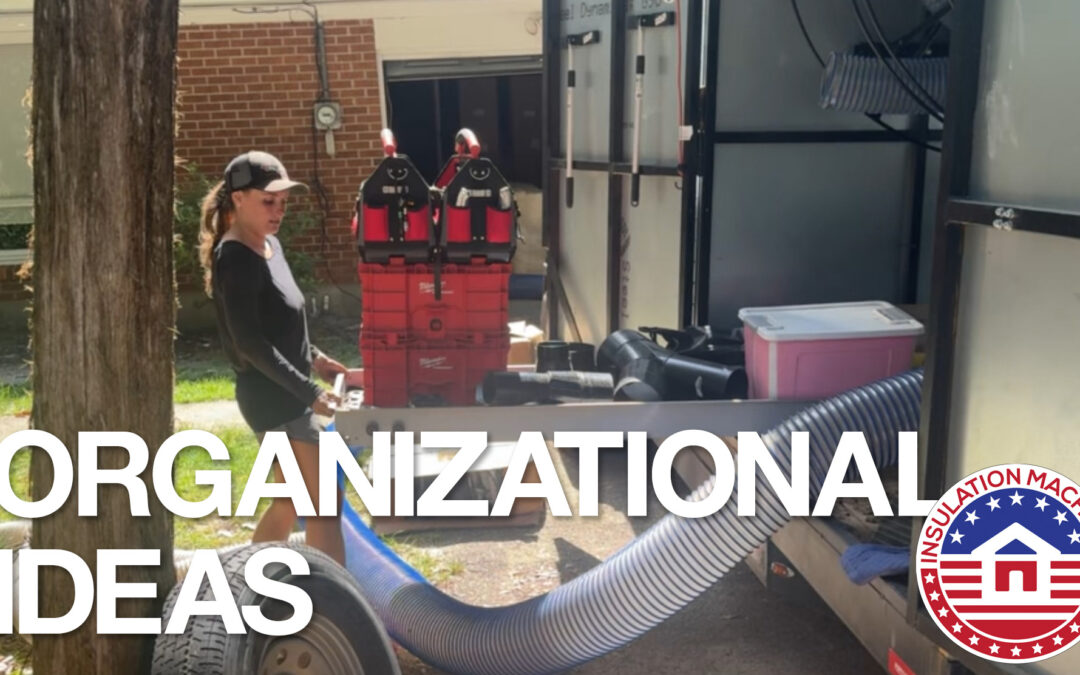
In 2023, we proudly launched the VacTrailer—an all-in-one trailer designed to streamline how insulation professionals handle vacuum setups and waste disposal. Our mission is clear: help insulators work faster, safer, and more organized during insulation removal...

by Barry Pendley | Jul 9, 2025 | Tips and Tricks
Summary: Bird Family Insulation installed a new CM2400 insulation machine with an older Winco generator, but encountered low voltage, preventing proper operation. Troubleshooting steps included checking plugs, fuses, wiring, and especially generator capacitors. Faulty...
by Barry Pendley | Jun 25, 2025 | Tips and Tricks
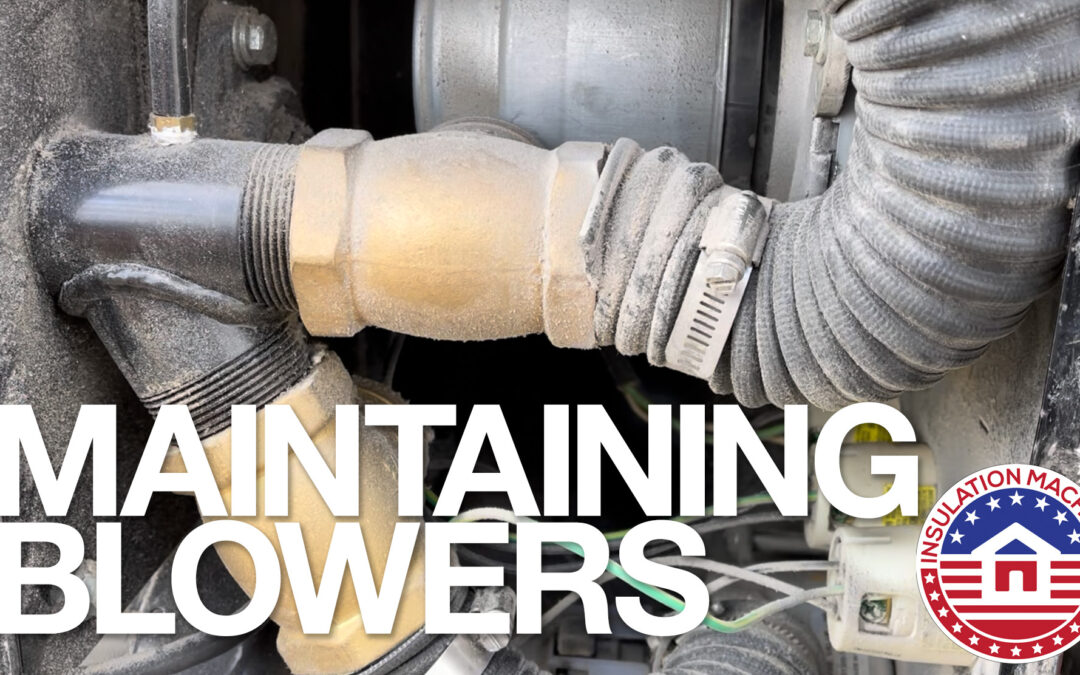
Summary: Regularly cleaning insulation machine blowers is crucial to prevent dust buildup, which can clog ventilation, reduce airflow, cause overheating, and damage components. Dust also accelerates wear, reduces lubrication effectiveness, and can corrode parts. Clean...


